
Week 4 of the One Room Challenge: Building the Bench Seat
*This post contains affiliate links*
It’s week 4 of the One Room Challenge with Apartment Therapy.
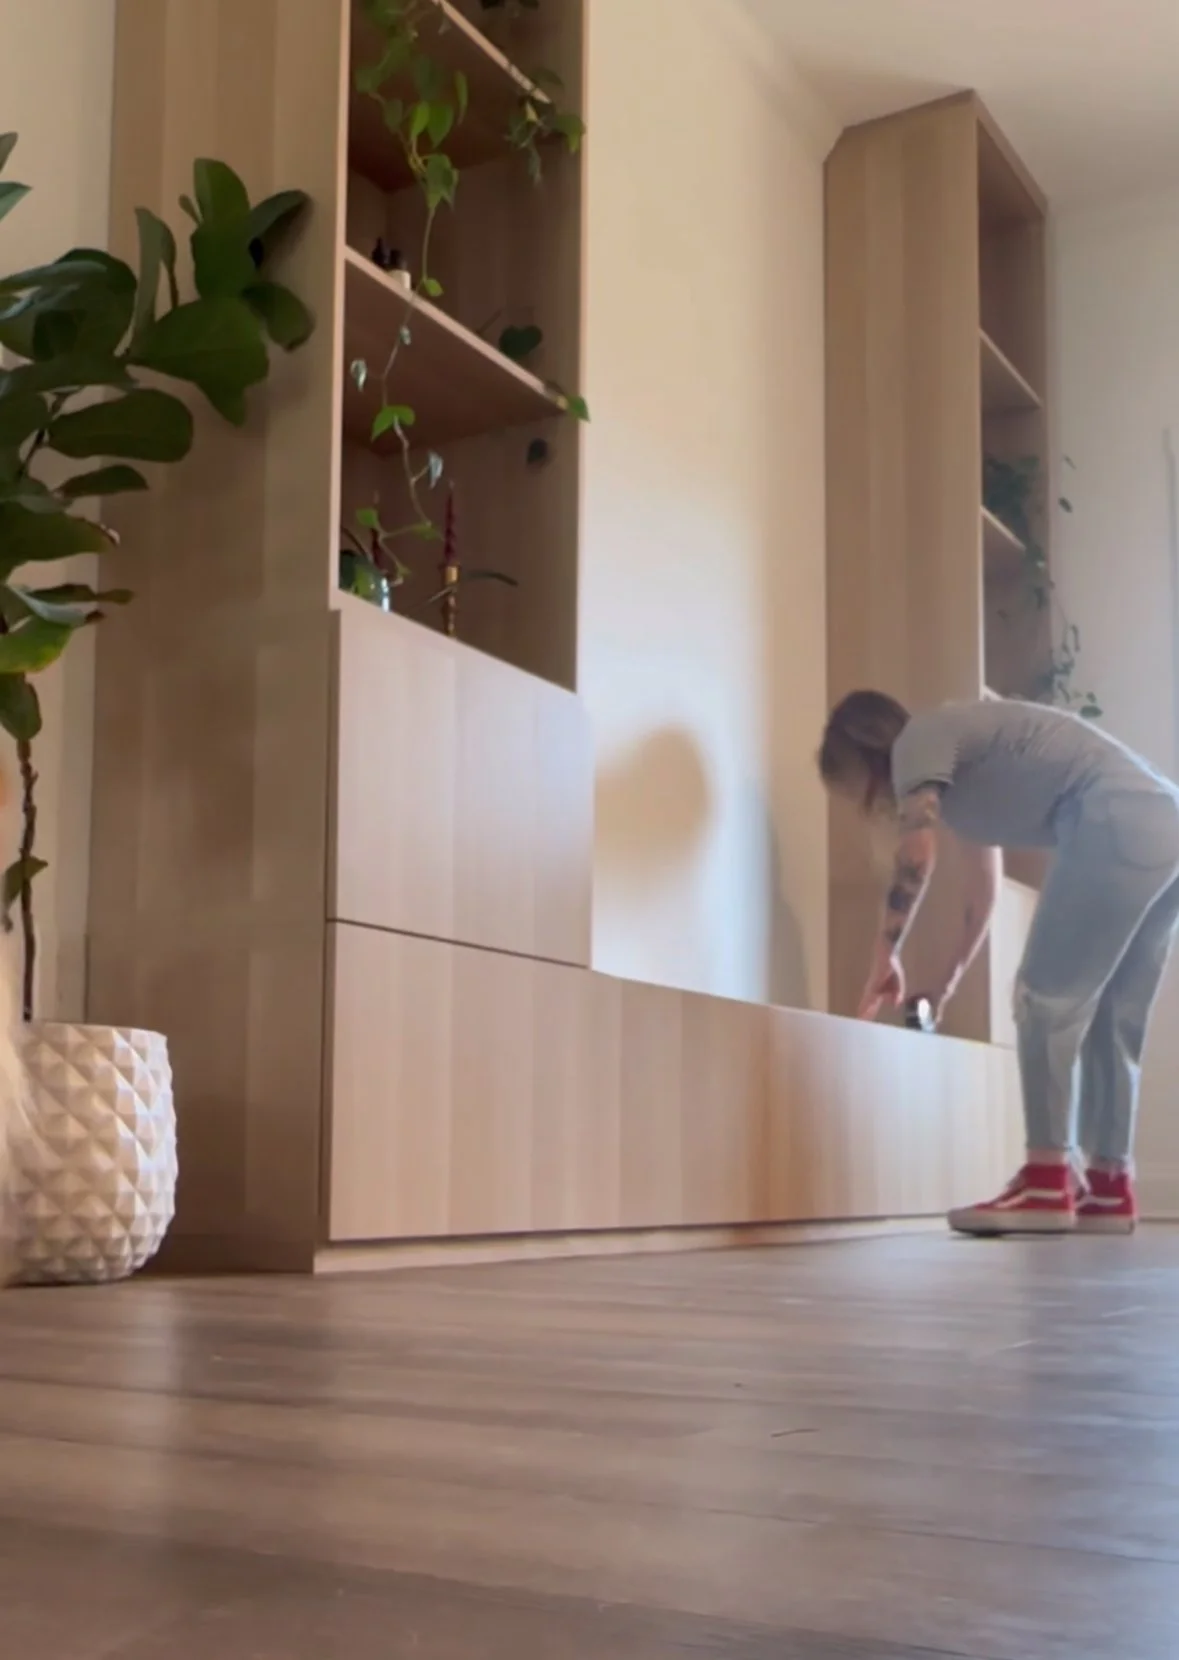
This week was all about bringing the bench seat to life! I’ve been dreaming about this cozy nook since the start of the project, and seeing it finally start to take shape is so satisfying.
If you need to catch up, you can do that here.
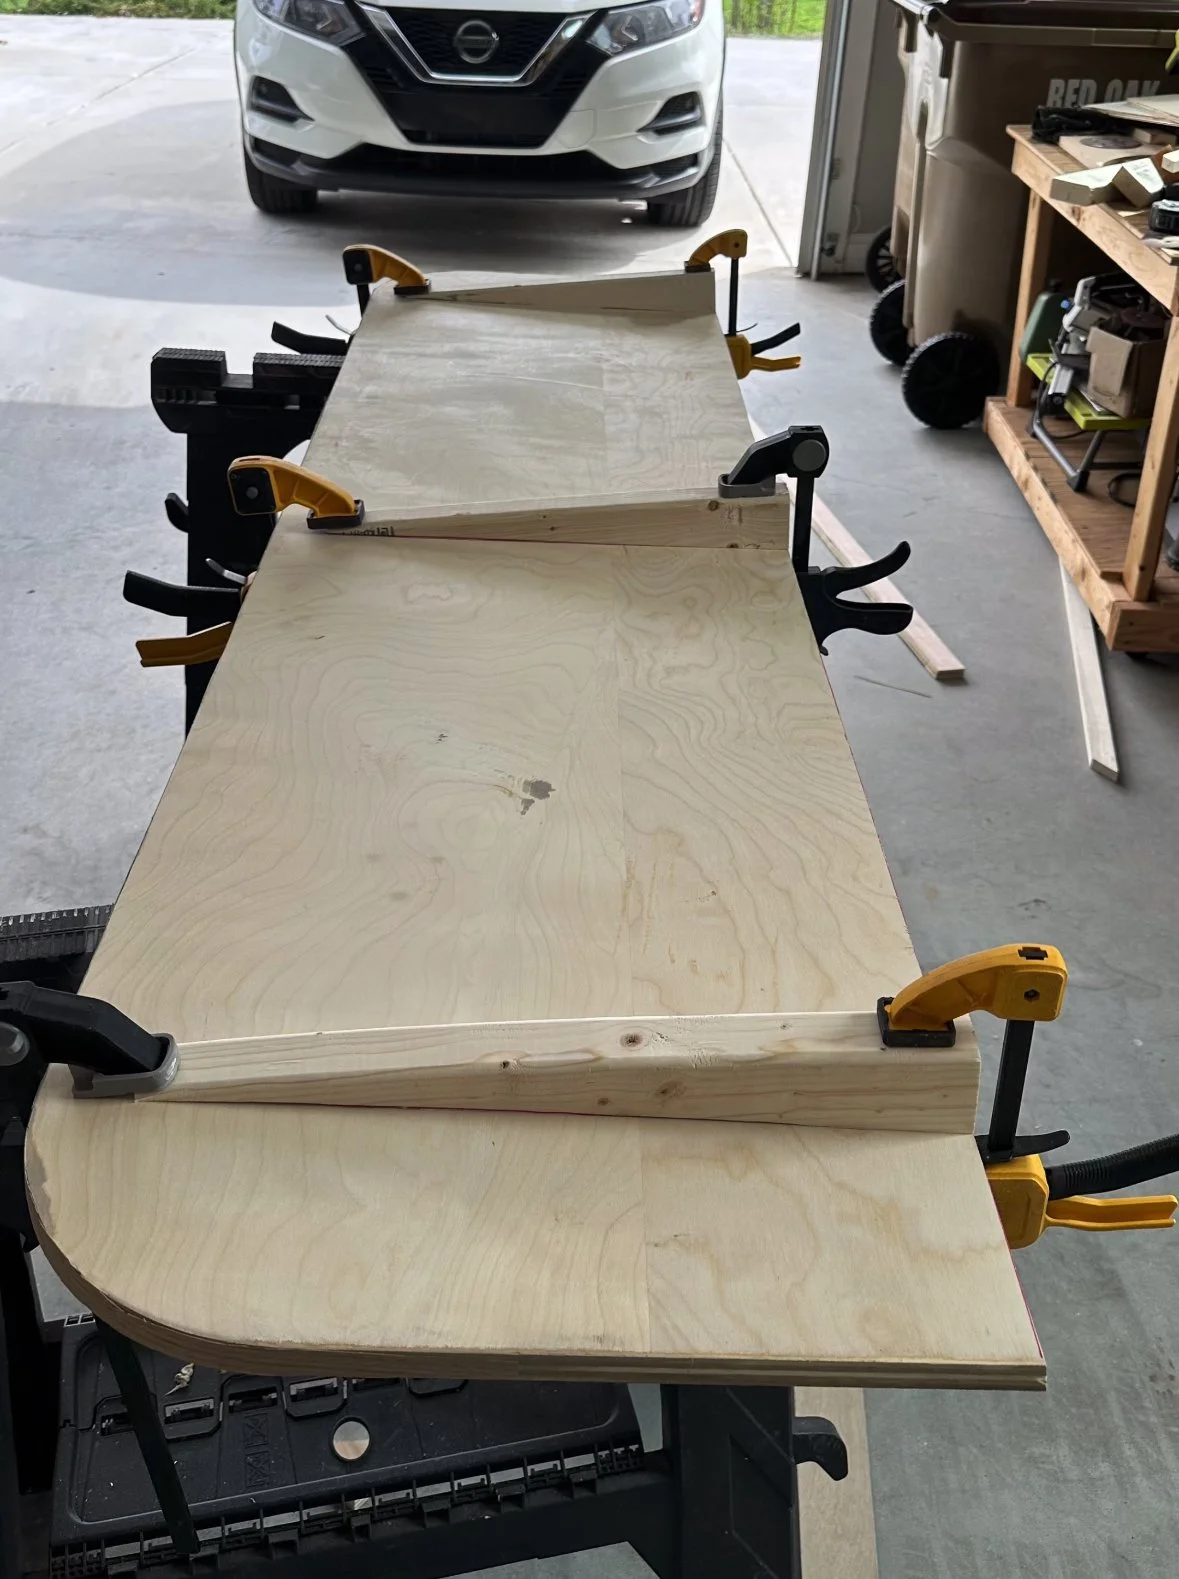
I started with the seat itself. I had originally hoped to use white oak to match the cabinets, but Home Depot had red oak plywood in stock—and it was significantly cheaper—so red oak it was! I had them cut a 4x8 sheet down to two 2x8 panels in store, which made it easier to get started once I got home.
From there, I trimmed one of the panels to fit the bench area. I wanted it to overhang the Besta cabinets just a bit for that built-in look, so I left it at 24” deep. For safety and comfort (and honestly just because I’m always bumping into things), I used the lid of our dog food container to trace curves onto the two outer corners and cut them out. No sharp bench corners around here!


To finish the seat, I added edge banding to the front edge and stained it with Varathane’s Hazelwood—it’s not a perfect match to the cabinets, but it blends well enough and gives it a warm, finished look. Once it was dry, I traced it onto the second panel and onto my cushion foam, then secured the seat panel directly to the Besta cabinets with screws.


Next came the backrest! I traced the shape of the seat onto the second 2x8 panel and cut it out to use as the back. I decided on a height of 20” for the backrest and angled the bottom edge by setting my saw to 10 degrees. This slight angle will make it much more comfortable to lean against.
To support the angled back, I cut a few 2x4s with matching angles and attached them to the back of the panel. Then came the fun part: hanging it with a French cleat!
If you’ve never used a French cleat before, (this was my first time) it’s a super secure way to hang heavy items on the wall. It’s basically a two-part system:I picked this one up at Home Depot. One piece is secured to the wall in studs, it is a 45-degree angle facing up and out and the other piece attaches to the back of your item (angle facing down and in). When you place the piece on the wall, the angles interlock and hold everything in place. It’s strong, and best of all—removable, which makes it easy to adjust or take down if needed.


To hang the backrest, I measured carefully to make sure there would still be space to slide the bottom cushion in and out. My cushion is 4” high, so I accounted for that before screwing the cleat to the wall.


Speaking of the cushion—I found the perfect piece of 4” foam at Joann (and it was on clearance since they’re closing!). I traced the seat shape onto the foam and cut it out using a bread knife. Not the cleanest method, but it worked in a pinch, and the rough edges will be hidden once I wrap it in batting and fabric.


Next week, I’m hoping to sew the cushion cover and upholster the backrest. The table and chairs are also scheduled to arrive, so it’s going to be a big week—can’t wait to share more soon!
