One Room Challenge Week 4: Starting To Stencil The Hallway
I’m so excited for this week! It’s the Better Homes and Gardens One Room Challenge Week 4. That’s halfway! Make sure to click that link to check out all the progress everyone participating has made.
I am starting the faux wallpaper in the hallway and I have a vision. This stencil design is me just trying to throw that vision on the walls.
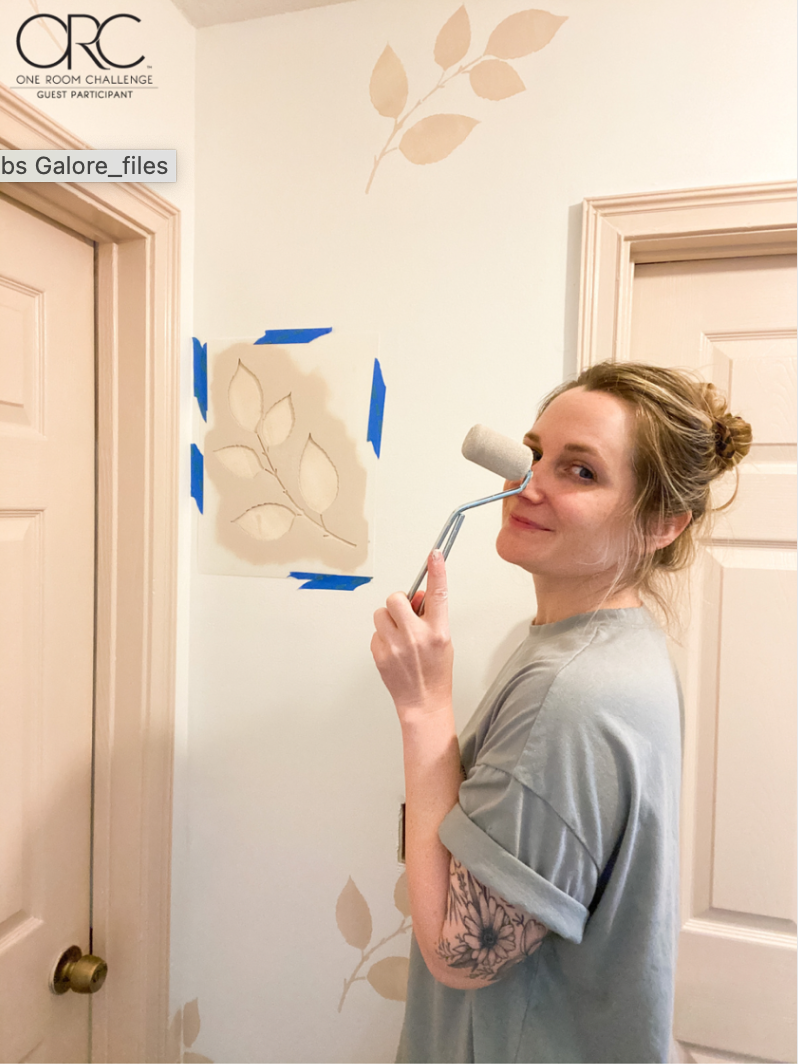
Cutting Edge Stencils sent me this perfect wall stencil. It’s the Watercolor Leaves stencil kit plus some of their brushes.
This stencil set is all separate pieces which is exactly what I wanted for all these weird angles and corners. My plan is to do the stencils layer by layer and end up with a one of a kind faux wallpaper.
I’m also adding in another stencil that I found on Etsy that’s a surprise. Here’s a hint: 🐍 I’ll show you that one next week!
I am starting with one of the larger leaves and using the same color as the doors and trim: Sherwin Williams Malted Milk. I got matte paint because it dries faster. I’m using the small foam roller that Cutting Edge Stencils sent me.
The trick is to coat the roller fully, so there are no splotches, and then roll off all the excess paint before putting it to your stencil. You want very thin coats of paint. This minimizes bleeding at the edges of the pattern.
I used painters tape to hold the stencil to the wall but you can also use a spray adhesive if your stencil has delicate details. The tape worked just fine for me.
Working around all the angles and corners can be tricky so what I did was when I got to a corner, I did one side of the stencil, then bent it into place and did the other side.
I got a bit on the ceiling but I’m not worried about that. Once I’ve got all the stenciling finished, I’ll go back and touch up the ceiling with ceiling paint.
I’m a little unsettled with this first layer of stencil but I know it’ll get better as I add more and I can’t wait to show you the rest!
See you next week!


